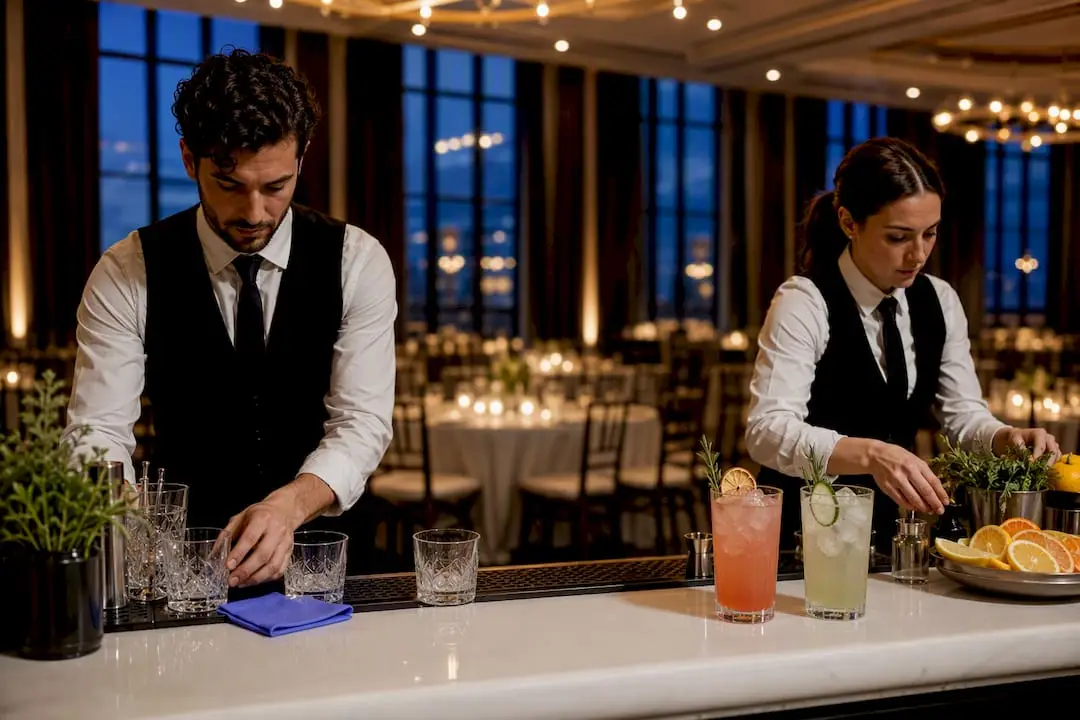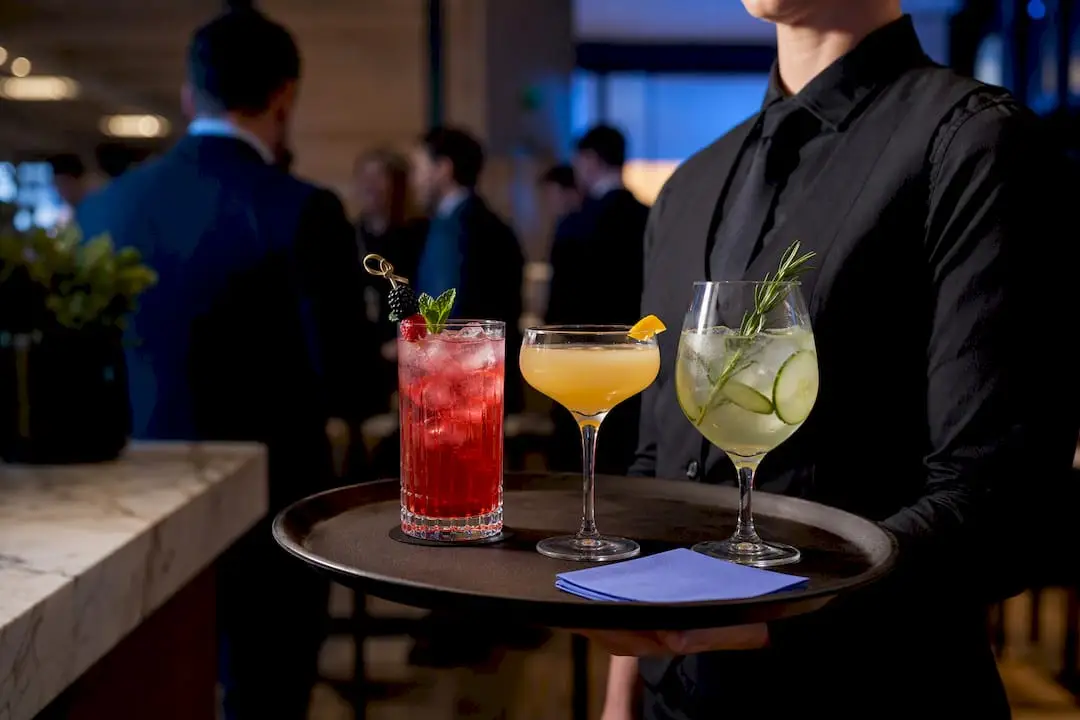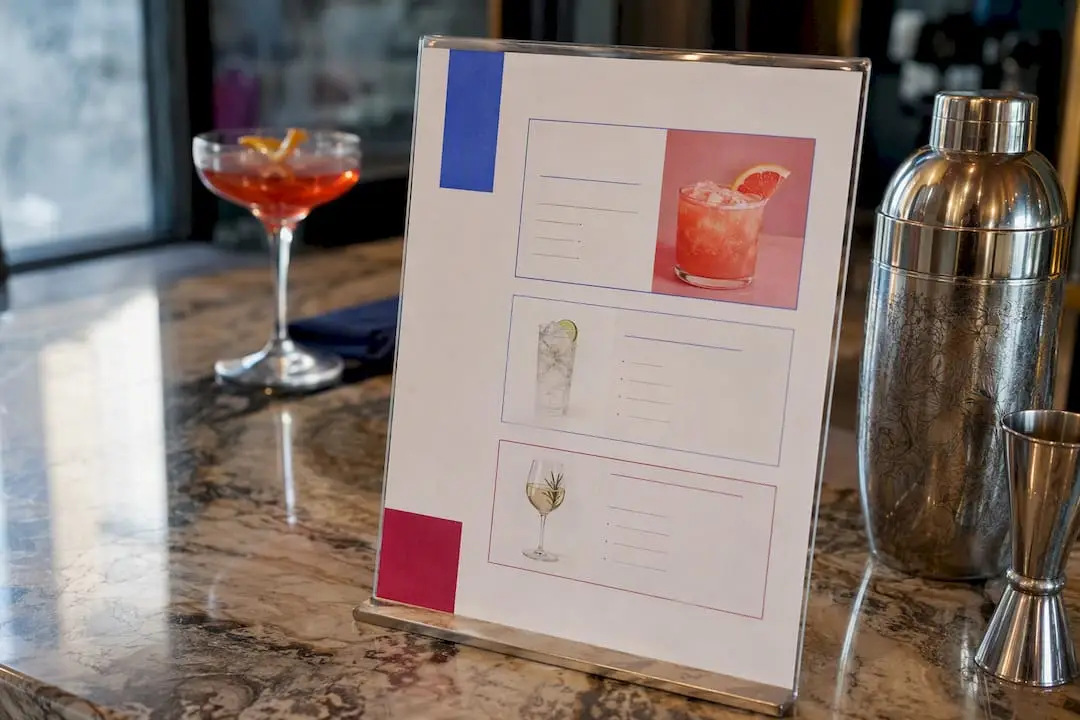
Your best starting point is a single-panel or bi-fold printable menu paired with a matching QR code version, stocked with a curated selection of signature cocktails, classics, and mocktails. That combination works because it balances readability, sales psychology, and bar speed all at once. A shorter list means faster pours and less guest hesitation at the bar.
Here’s your immediate next move:
- Pick a template file (print-ready PDF or an editable Canva/Adobe file)
- Lock your menu size at 12 to 18 total drinks before you write a single description
- Save the currency symbol and font decisions for after the list is finalized
Key Takeaways
An event bar menu works best when it pairs a curated 12 to 18 item list with clear visual hierarchy, sensory copy, and pricing formatted to increase perceived value.
| Point | Details |
|---|---|
| Cap your item count | Stick to 8–12 signature cocktails, 3–6 classics, and 2–4 mocktails to keep bar speed fast. |
| Use the golden triangle | Place your featured or highest-margin cocktail in the top-right zone of the layout. |
| Format prices carefully | Drop currency symbols and place numbers at the end of the description to boost perceived value. |
| Match materials to conditions | Choose laminate near ice and splashes, and soft cardstock for keepsake wedding menus. |
| Hire pros for polish | Cocktail-crew offers menu consultation, mocktail curation, and staffed bartenders for events over 40 guests. |
Table of Contents
- Event Bar Menu Design Principles That Actually Sell Drinks
- Which Templates and Formats Work Best for Event Bars?
- How Should You Write and Price Drink Descriptions?
- Print Specs and Materials That Hold Up at Live Events
- Making Your Drink Menu Inclusive for Every Guest
- Three Ready-to-Use Event Bar Menu Blueprints
- What Experienced Bartenders Know About Menu Timing
- Let Cocktail-crew Design and Staff Your Event Bar
- Sources
Event Bar Menu Design Principles That Actually Sell Drinks
Guests scan a menu the way they scan a wedding photo: eyes hit the top right first, then sweep left, then drop down. Designers call this the golden triangle, and it’s why your highest-margin or signature cocktail belongs in that top-right zone, not buried in a middle column where nobody looks first. Bar menu layouts built around this zone consistently pull more orders toward the featured drink.
Item count matters just as much as placement. Cap your list to keep it concise, balancing signature cocktails, classics, and mocktails.
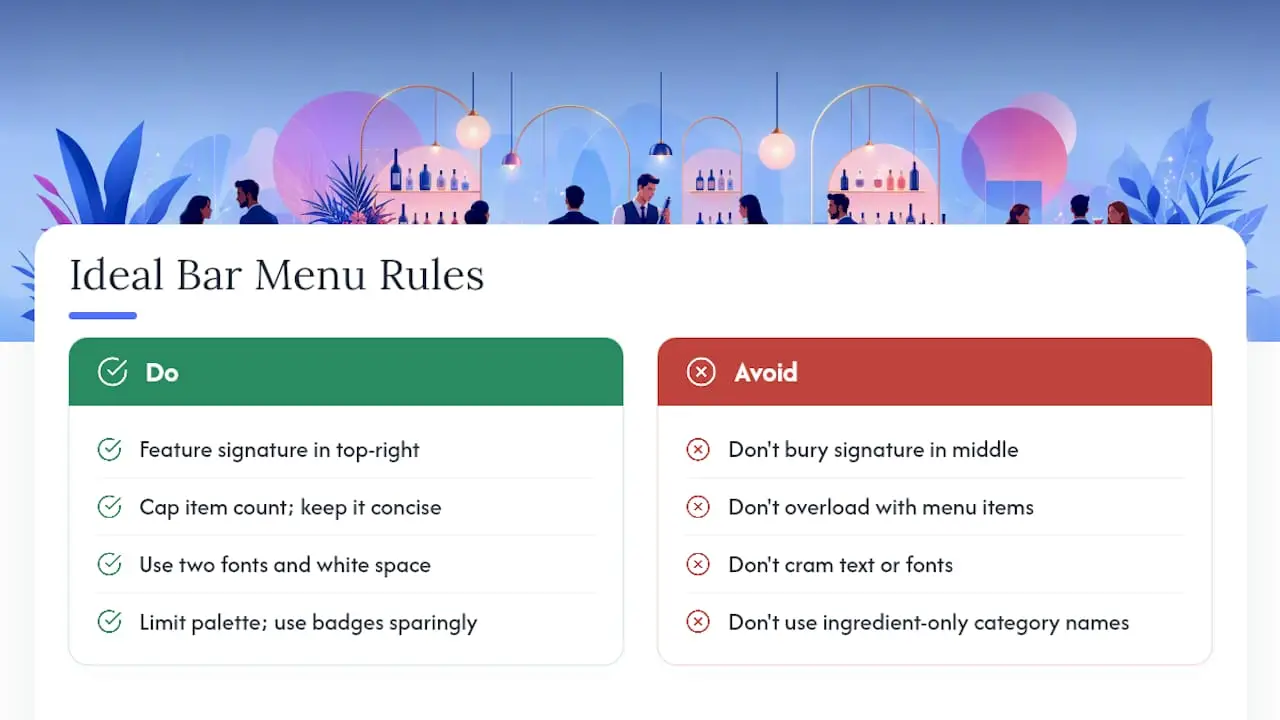
More than that, and you’re not designing a menu, you’re printing a wine list nobody will read at a cocktail hour. Menu engineering studies tie this kind of curation, combined with strategic pricing, to a measurable lift in per-check revenue.
Visual hierarchy does the rest of the work. Use two fonts maximum, one for headers and one for body copy. Leave real white space around your featured drinks instead of cramming every inch. Limit your palette to two or three colors tied to your event branding, and use boxes or badges (like “Bartender’s Pick”) sparingly, maybe once or twice per menu, so they still carry weight.
Category names matter more than people think. “Refreshing & Bright” or “Bold & Boozy” reduces decision friction faster than “Vodka Cocktails” ever will, because it sells a feeling instead of an ingredient.
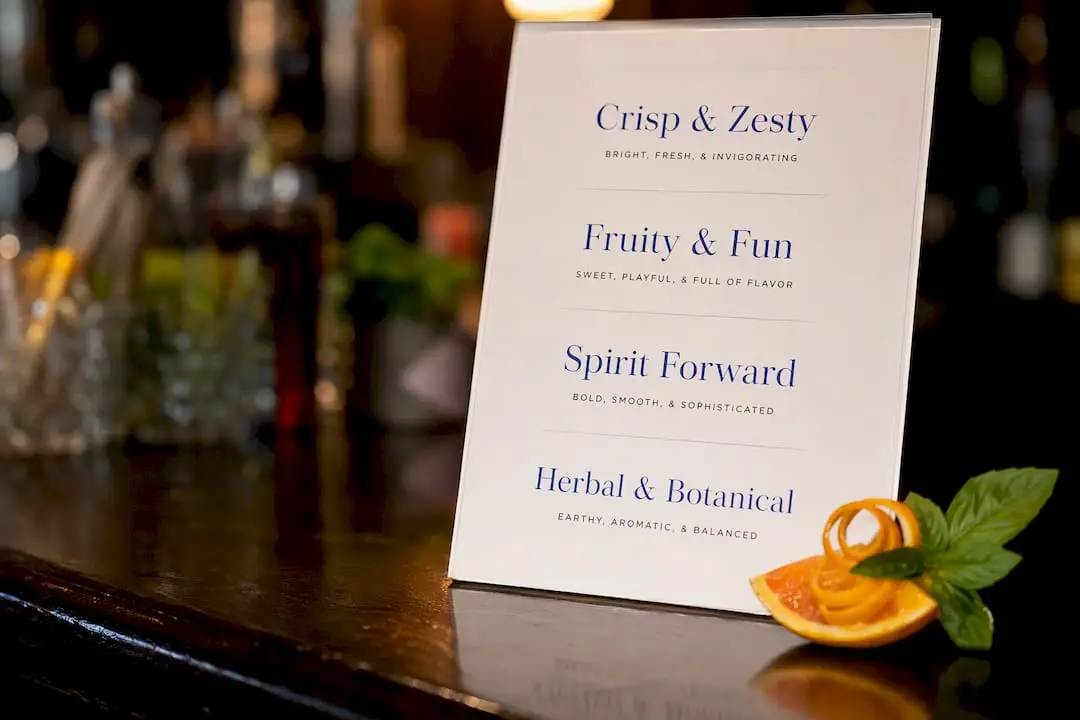
Pro Tip: Draft your category names before you write a single drink description. It’s much easier to sort cocktails into a mood than to invent moods after the fact.
Which Templates and Formats Work Best for Event Bars?
A single-panel menu works for cocktail hours and tabletop displays where guests glance and move on. A bi-fold gives you room for a wedding’s full bar program, including a signature drink story, without crowding the page. Tabletop cards suit seated dinners and corporate mixers, and easel signage works when you need one big, readable display visible from across a room.
Printed menus alone aren’t always enough. Pairing a physical menu with a QR-linked digital version lets you edit pricing or swap a sold-out cocktail without reprinting anything, which matters more than most planners expect once an event is already underway.
When you’re sourcing a template, request these exact file types:
- A print-ready PDF with bleed marks included
- A high-resolution PNG for quick digital sharing or QR-linked pages
- An editable Canva, Adobe, or Illustrator file you can adjust yourself
Before downloading anything, check resolution (300 DPI minimum for print), confirm bleed and safe zones are marked, and verify fonts are outlined or embedded so they don’t shift when opened on a different computer. Adobe Express and Canva’s bar menu library both cover these bases, and tools like Pixazo’s AI cocktail menu maker can generate a layout-aware draft and export print-ready files in minutes if you’re starting from nothing.
How Should You Write and Price Drink Descriptions?
Two lines, sensory language, no jargon. “Bright, citrus-forward, and finished with a smoked rosemary sprig” sells a cocktail. “1.5 oz gin, 0.75 oz lemon juice, 0.5 oz simple syrup” reads like a recipe card, not a menu. Mention origin only when it adds a story, like a family tequila recipe, not as a default habit.
Price formatting changes behavior more than most planners realize. Drop the dollar sign, and place the number at the end of the description instead of in a bold column on the right. Removing currency symbols and embedding prices in sentence flow measurably increases perceived value, because a floating “$14” reads as a transaction while “smoked rosemary gin fizz, 14” reads as an experience.
- Before: “Old Fashioned — $16”
- After: “Bourbon Old Fashioned, orange oils, a single hand-cut cube, 16”
Add one anchor premium item, priced noticeably higher than the rest, near your featured cocktail. It doesn’t need to sell often. It just needs to make everything else on the page look reasonable by comparison.
Print Specs and Materials That Hold Up at Live Events
Cardstock at 100 to 120 lb weight works well for keepsake menus guests might tuck into a purse or jacket. If your bar sits anywhere near ice, splashes, or an outdoor tent, laminate at 10 to 14 pt instead. Condensation will destroy uncoated paper by hour two. Soft-touch or matte finishes read as more upscale for weddings and formal corporate events, while gloss tends to look cheaper under string lights.
Size your signage for distance. Bar-top cards need legible type from about two feet away; easel signage needs to be readable from across a room, which usually means 36 point type or larger for headers.
- Reusable folios make sense for recurring corporate clients or seasonal venues
- Single-use printed inserts are cheaper for one-off weddings and private parties
- Order 5 to 7 business days out from local print shops to leave room for a proof correction
- Digital proofing before a full print run saves both money and a last-minute scramble
Making Your Drink Menu Inclusive for Every Guest
Mocktails deserve the same sensory language and visual real estate as your cocktails, not a shrunken afterthought at the bottom of the page. A guest who’s sober-curious shouldn’t have to hunt for their option while everyone else gets a full paragraph.
- Mark ABV or use a simple icon system (a small leaf or drop) for alcohol-free drinks
- Flag common allergens clearly, especially nuts, dairy, and egg whites used in foams
- Keep body text at 12 point minimum, with strong contrast between text and background
- Test your layout under low light before printing, since most bars are dimmer than your office
Cocktail-crew’s approach to elevated mocktails treats nonalcoholic drinks as a design category on par with anything else on the bar, giving them equal attention to garnish, glassware, and description quality.
Pro Tip: Place your best mocktail directly next to your featured cocktail, not in a separate section. Guests notice when nonalcoholic options are visually segregated, and it changes how welcome they feel.
Three Ready-to-Use Event Bar Menu Blueprints
Grab one of these structures and fill in the blanks instead of starting from a blank page.
- Wedding single-panel: One featured “His & Hers” signature pair at top, 4 to 6 additional signature cocktails below, 2 classics, 2 mocktails, and a beer/wine line at the bottom. Leave a slot for the couple’s names and wedding date as a header.
- Cocktail party bi-fold: Organize by flavor category (Bright & Citrus, Bold & Smoky, Sweet & Herbal), 3 drinks per category, with one “Bartender’s Pick” boxed and highlighted per panel.
- Corporate happy hour tabletop card: 6 to 8 total drinks max, grouped as Classics, House Specials, and a 3-drink tasting flight option for groups who want variety without extra pours.
For editable files matching these structures, Canva’s bar menu templates and the Adobe Express drink menu library both offer print-ready PDFs and layered files you can adjust. Cocktail-crew’s own guide to cocktail menu design walks through adapting these blueprints to your specific event.
What Experienced Bartenders Know About Menu Timing
Finalize your drink list 4 to 6 weeks before the event, not the week of. That timeline gives you room to run a tasting 2 to 4 weeks out and catch a bad combination before it’s printed on 150 cards. Confirm your signage counts with whoever’s staffing your bar. One visible menu per bartender plus a distant display or two keeps lines moving and cuts down on guests asking the same question five times.
One recent wedding trimmed its list from 22 cocktails to 11 the week before the event. Average ticket time dropped, and the bar never backed up past three guests deep.
— Nelson
Let Cocktail-crew Design and Staff Your Event Bar
Cocktail-crew is the alternative to spending a weekend fighting with template software: you get a menu consultation, mocktail curation, and print-ready files bundled with staffed bartenders who already know how to work the room.
If your guest count is under 40 and you’ve got design software experience, a DIY template from Canva or Pixazo will get you there. Past that, or if you want a polished bar program without spending your week off fighting font kerning, hiring professionals makes more sense. Cocktail-crew’s team builds the menu, curates the mocktail lineup, and staffs the bar with charismatic bartenders who keep lines short and guests entertained, all inside a flexible three-hour minimum that fits weddings, corporate events, and private parties alike.
Ready to skip the template wrangling? Book a private event bartending package and let a professional crew handle the menu, the pours, and the crowd.
Sources
Start with Canva’s bar menu templates or the Adobe Express drink menu library for editable print-ready files. For an AI-assisted first draft, try Pixazo’s cocktail menu maker.
- Bar Menu Design: Layouts That Sell More Drinks
- Bar Menu Design Tips: How to Create a Profitable & Eye-Catching Drink Menu
- Bar menu templates — Canva
- Cocktail Menu : Create Free Cocktail Menus in Minutes with AI — Pixazo
- Inside STE Mobile Bar: Michael Glance on Event Bar Design – Mayker Events